
When it comes to deleting files, there’s a common misconception.
If you’re a non-technical user, you may think that dragging files into the trash folder on your computer will delete them permanently, however, that’s not the case at all.
In actuality, deleted files will still remain on your storage drive until they are overwritten by other data. This means that you can still recover deleted information from your computer using data recovery software. This may be an issue if you’re trying to prevent confidential information from being accessed after deletion.
Permanently deleting files so that they cannot be recovered will require a little bit more effort. Depending on your computer system, the methods may vary.
Luckily, we can guide you through the process on both Mac and Windows.
How to permanently delete files on Mac
Earlier models of Mac, prior to the software update macOS Sierra, enabled users to permanently and securely delete files with the click of a button: “Secure Empty Trash” This was a feature that would overwrite data to become unreadable once users placed files in the trash icon.
However, this feature was removed and now there are more steps necessary. The primary method to permanently delete files on Mac is using the “rm” command.
Option 1 – Using the macOS Terminal
**Note: If you’re a non-technical user and are not comfortable with using the macOS Terminal, please scroll down to Option 2.
Step 1: Open System Preferences (using Spotlight Search)
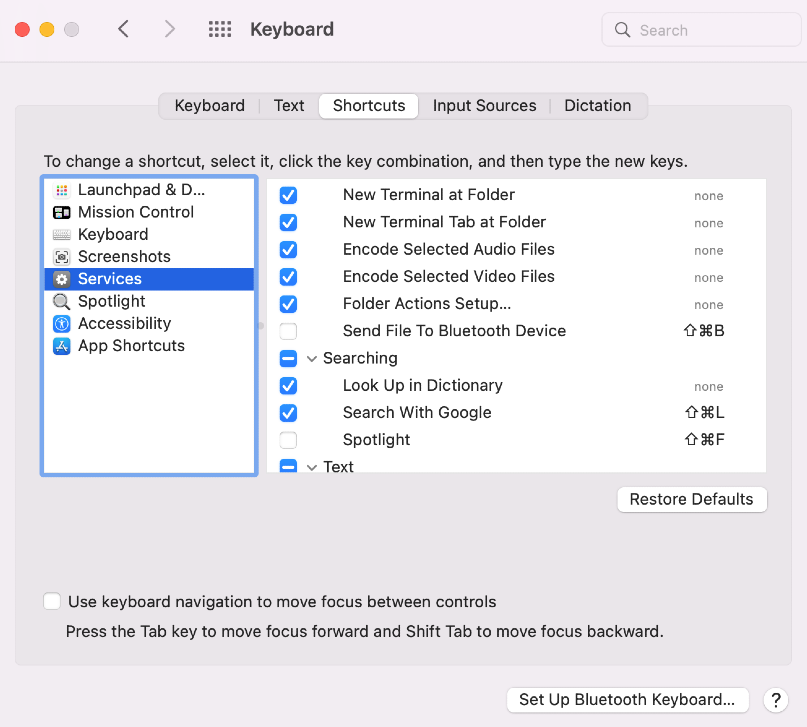
Step 2: Select ‘Keyboard’ then ‘Shortcuts’
Step 3: In the left column, press ‘Services’ and select ‘New Terminal at Folder’ and ‘New Terminal Tab at Folder’
Step 4: Navigate to ‘Finder’ and locate the folder that contains the files you want to permanently delete.
Step 5: Right-click the folder then select ‘New Folder at Terminal’ (a new terminal window will appear)
Step 6: Beside the %, enter rm- P PrivateFile.txt command and replace ‘PrivateFile.txt’ with the name and extension of the file you wish to delete
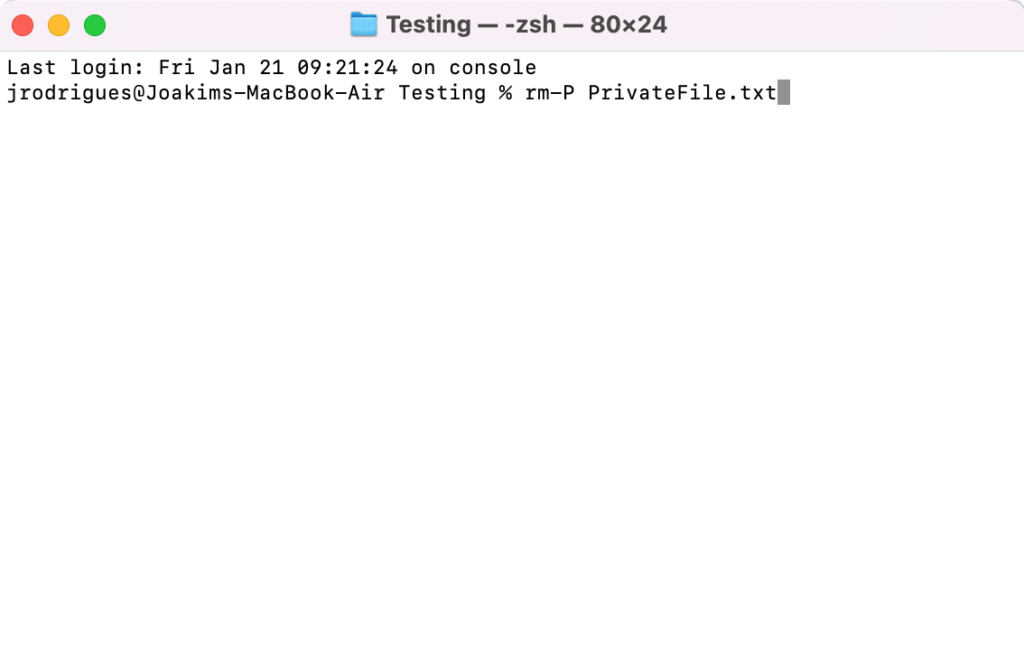
Step 7: Press ‘Enter’
Done! Just like that, your files are securely deleted.
Option 2 – Using CleanMyMac X
If you’re a bit less technical and aren’t comfortable with using the macOS Terminal, then CleanMyMac X will work better for you
Step 1: Download and install CleanMyMac X
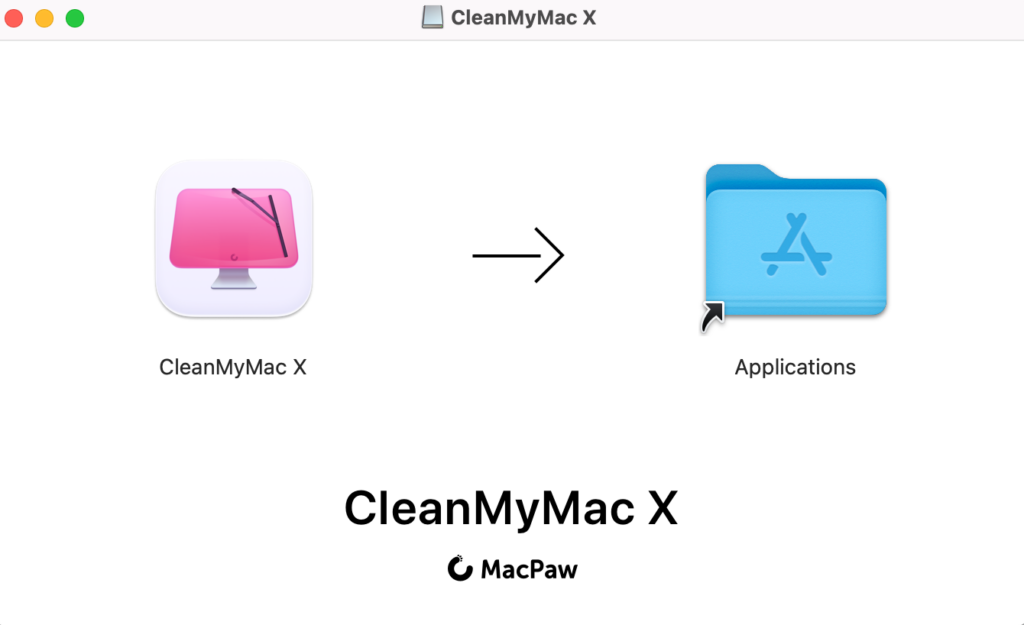
Step 2: Open CleanMyMac X from your applications
Step 3: Grant CleanMyMacX access to your files in documents, desktop, and downloads
Step 4: In the left tab, click “shredder,” then click “Select Files” to select the files you would like to delete
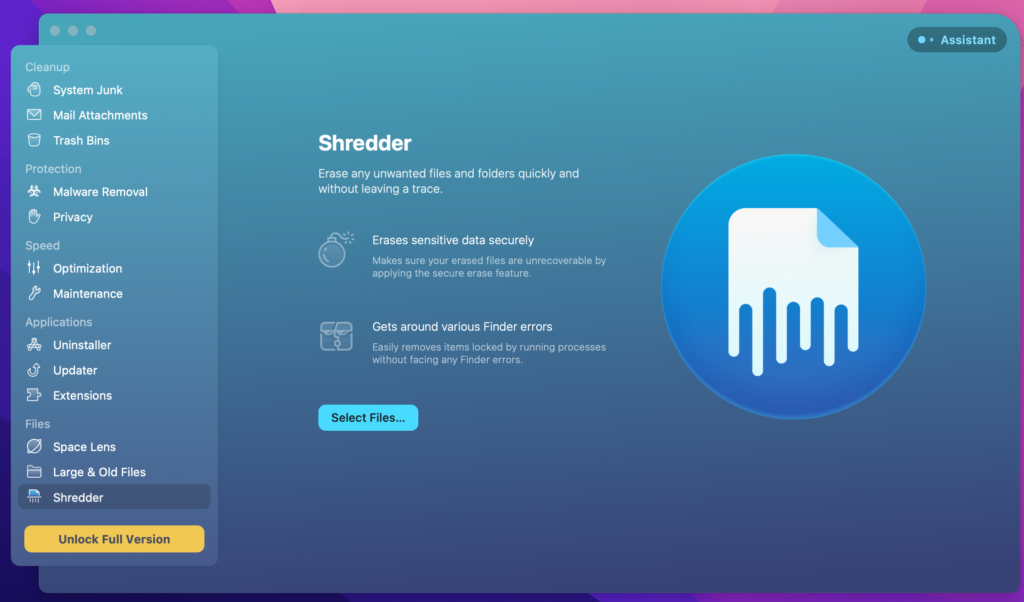
Step 5: Upload the file for deletion and click “Shred”

That’s it! Your files have now been securely deleted.
How to permanently delete files from PC (Windows)
On Windows, file shredding software such as Eraser will enable you to completely erase sensitive data by overwriting it with code making it unreadable. Eraser is compatible with Windows 7, 8, and 10, and works in a few steps.
Step 1: Download and Install Eraser on your PC.
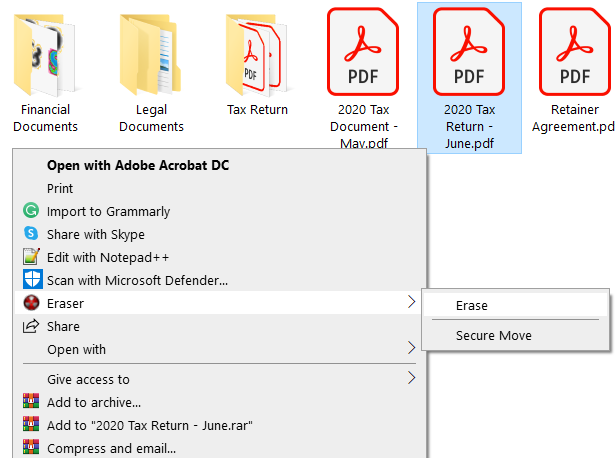
Step 2: Once installed, navigate to the file or folder you want to delete
Step 3: Right-click the file and select Eraser and click ‘erase’
That’s all it takes to securely delete files on your Windows PC!
How to permanently erase a hard drive
When it’s time to recycle a storage device or an old computer, you may way to completely erase the drive securely. The safest way to permanently delete files from your hard drive is through a process called “zero fill.”
When you zero fill a storage device, you’re overwriting your entire drive contents with zeroes so that data on that drive can no longer be recovered by others.
You can zero fill a storage drive using a hard drive utility such as AOMEI Partition Assistant Standard. Here’s how to do it:
Step 1: Download and Install AOMEI Partition Assistant Standard
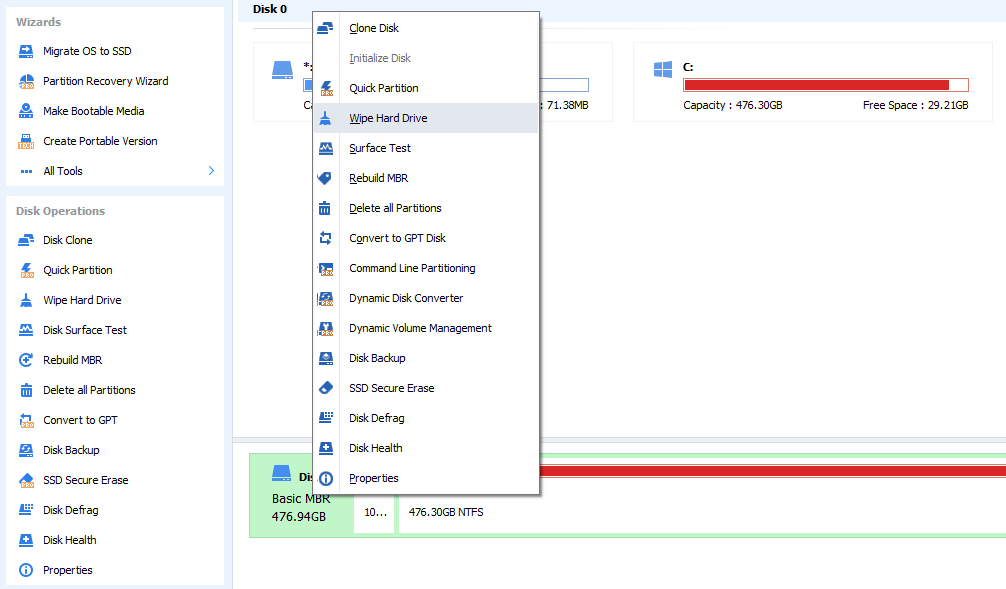
Step 2: Launch AOMEI in Applications. Right-click on the disk you want to erase and press “Wipe hard drive”
**Caution: Be sure to select the correct drive! **
Step 3: Choose your wiping method. “Fill sectors with zero (Safe, Quick)” is the most common method. Then, press ‘OK’
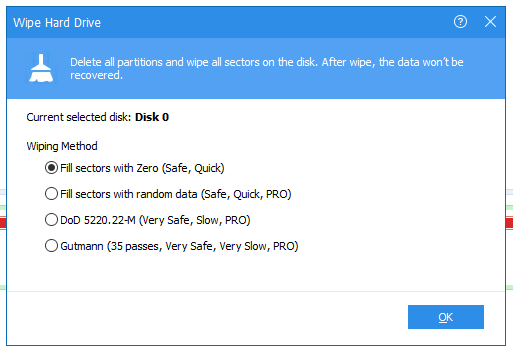
Step 4: Select ‘Apply’ and proceed with zero-filling!
Since the procedure is rewriting your storage device with zeroes, it may take some time for the process to complete. Once completed, your storage device will be safe for recycling.
Conclusion
File deletion is not data erasure. Once a file has been deleted, the data still remains on your computer. This data can still be recovered and accessed by users.
If you have sensitive and/or confidential information that you do not want to be available anymore, rm command, file shredding, and zero fill software are your best options.